
Hike for a Greener Future: Effortlessly Import AllTrails Best Hiking Trails into MapMetrics
Conquering the best hiking trails and immersing yourself in breathtaking scenery is a dream for many outdoor enthusiasts. Hiking is a fantastic activity that offers a wealth of benefits. It allows you to immerse yourself in nature, unplug from the daily grind, and get some healthy exercise – all while exploring breathtaking scenery. However, navigating unfamiliar trails can sometimes add unnecessary stress to your adventure.
This is where MapMetrics comes in. While it’s known for its exceptional navigation features, MapMetrics can also be a valuable companion specifically for hikers. This guide will show you how to seamlessly import GPX files from AllTrails into MapMetrics. By doing this, you can ensure your best hiking trails are readily available within the app, eliminating any navigation worries. With MapMetrics by your side, you can confidently focus on enjoying the beauty of the nature walks and the journey itself, knowing you’ll always find your way back.
Downloading GPX Files from AllTrails
Ready to take your hiking adventures to the next level? AllTrails lets you download GPX files of your best hiking trails, making them easy to manage and import into MapMetrics. Here’s a simple guide to get you started:
1. Accessing AllTrails
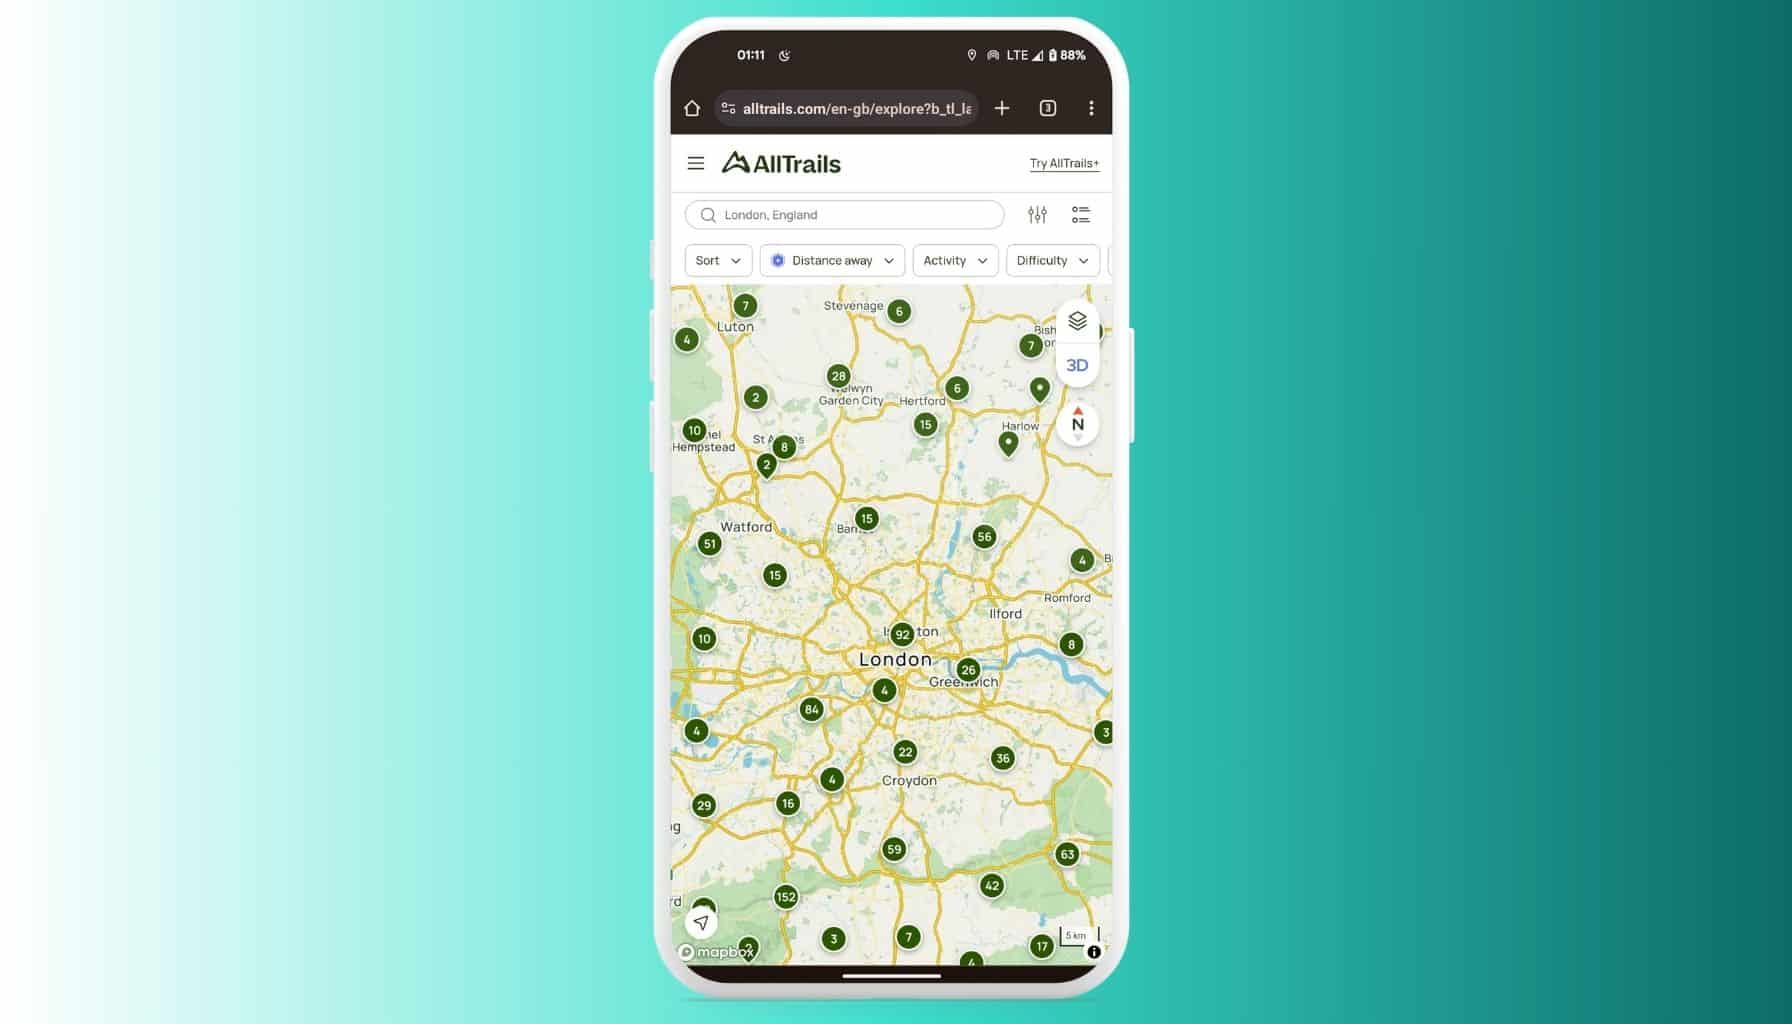
Open AllTrails in your web browser by typing https://www.alltrails.com. Sign in to your account to access your saved trails.

2. Accessing Your Maps

Hover over ‘Saved’ in the top header and select ‘My Maps’ from the dropdown menu. This section contains all the maps you have saved or created.

3. Selecting the Map
Browse through your saved maps and click on the specific map you wish to download. This will open the map details page, where you can view the route, photos, and other information associated with that map.
4. Downloading the GPX File
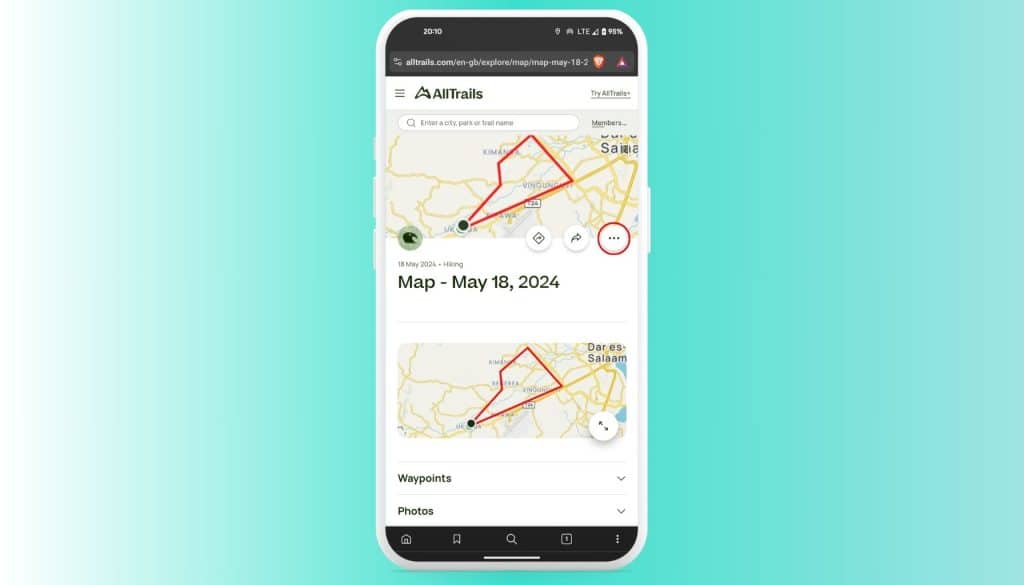
On the map details page, look for the overflow button (three vertical dots) above the map title. Click this button to reveal a dropdown menu.
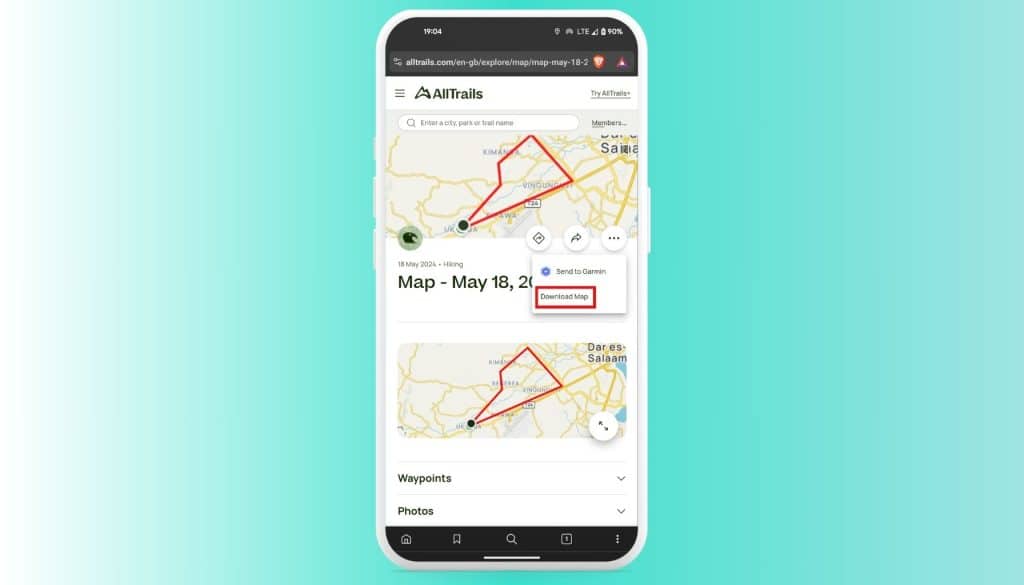
Select ‘Download Map’ from the dropdown options.
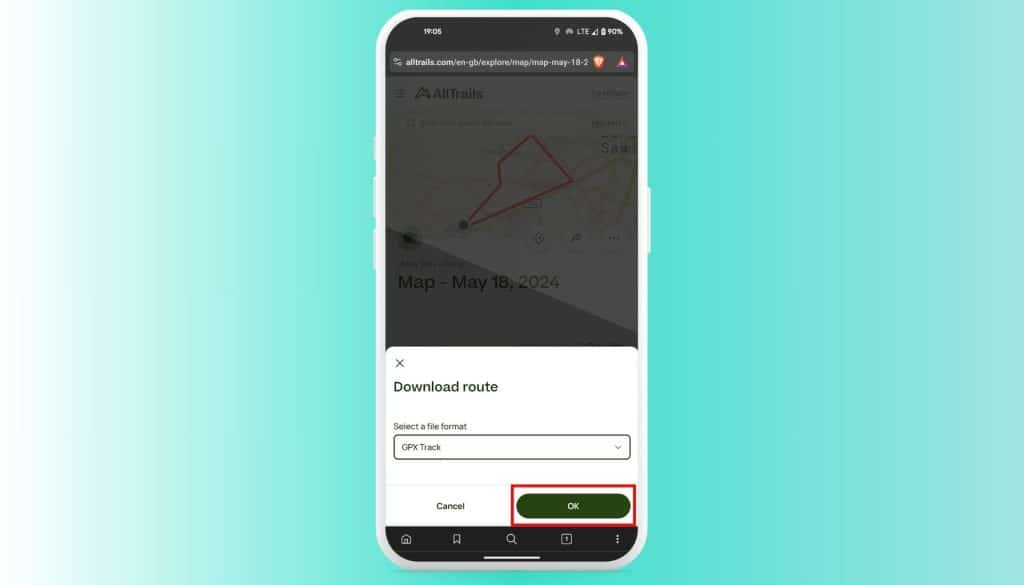
A dialog box will appear prompting you to choose the file format for download. Select ‘GPX track’ from the dropdown menu and click ‘OK’. Your GPX file will be downloaded to your device, and ready for import into MapMetrics.
Importing Your GPX Files into MapMetrics
With your GPX file from AllTrails successfully downloaded, you can now import it into MapMetrics. Follow these straightforward steps:
1. Opening the MapMetrics App
Launch the MapMetrics app on your device. Ensure you are signed in to your account for a seamless import process.
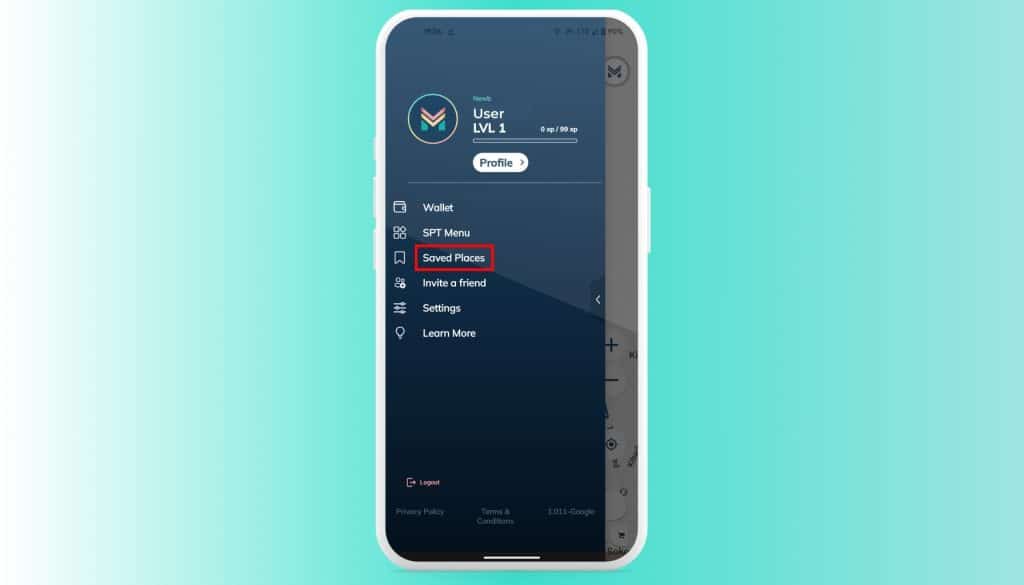
2. Navigating to Saved Places
Tap on the “Saved Places” option in the main menu. This is where you will manage and import your hiking trails.
3. Initiating the Import Process
Tap on “Import Bookmarks and Tracks.” This will open a file browser allowing you to locate your GPX file.

4. Selecting the GPX File
Find and select the GPX file you downloaded from AllTrails. Once selected, MapMetrics will automatically import the file.
5. Completing the Import
Wait for the import process to complete. Once done, your hiking trail will appear in your “Saved Places,” ready for exploration.
Exploring Your Imported Hiking Trails
Now that your GPX file is imported, you can explore your saved trails within MapMetrics. Here are a few tips to enhance your hiking experience:
Viewing Your Trail
Navigate to “Saved Places” and select the imported trail to view its details, including the route, distance, and elevation profile.
Starting Your Hike
Tap on “Start Navigation” to begin your hike. MapMetrics will guide you along the trail, providing real-time navigation and updates.
By following these steps, you can seamlessly transition to using MapMetrics as a hiking companion, ensuring all your favorite and best hiking trails from AllTrails are easily accessible and ready for your next adventure. Happy hiking!

